Making a jointer
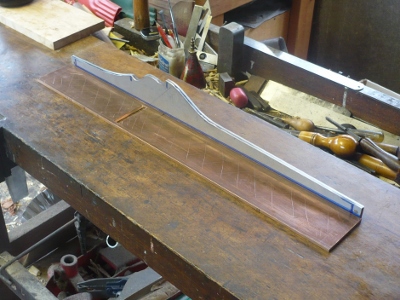
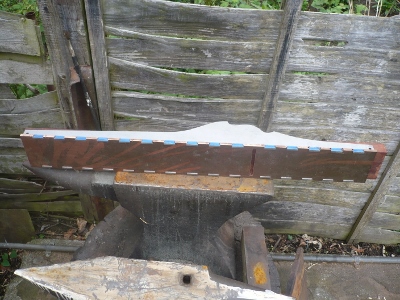
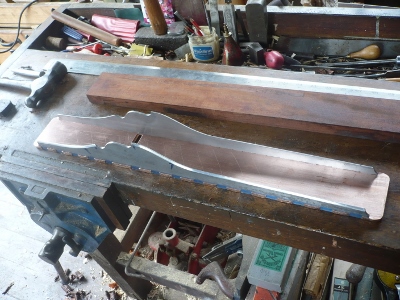
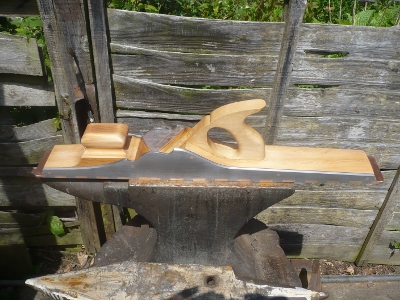
I am in the process of making a 24 1/2" jointer, steel sides and bronze sole, I haven't got a lever cap and screw, neither have I any thoughts or timber for the infill, but I thought I would make a start using my last long piece of bronze. I have never made a jointer with these contrasting metals before, I am hoping it will look good.
I have a small excess front and back on the sides, loosley pinned together so I can cut the dovetails in both pieces at once.
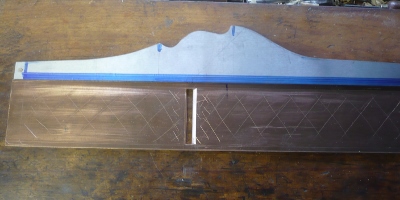
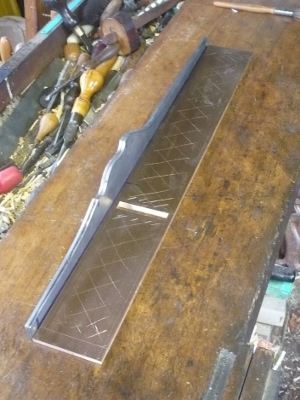
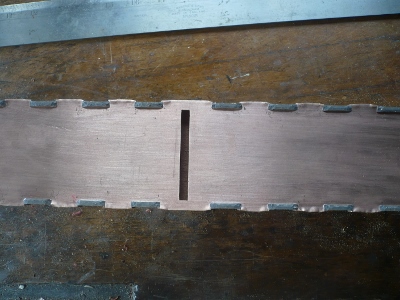
The criss cross lines on the sole is just a key for the glue when the infill goes in.
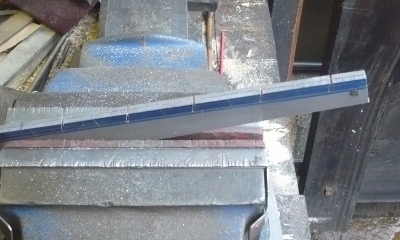
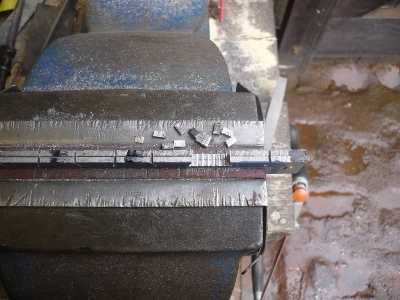
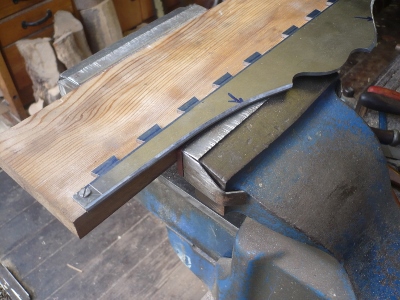
Starting to cut the dovetails, also notice the angles of the dovetails are vertical in the vice which enables you to saw straight down with the hacksaw. If you were right handed it is best to have the hacksaw to the right of each cut, this way far easier to see what you are doing. When I have cut this row I will turn the 2 sides round and cut the other end of the dovetails in the same manor.
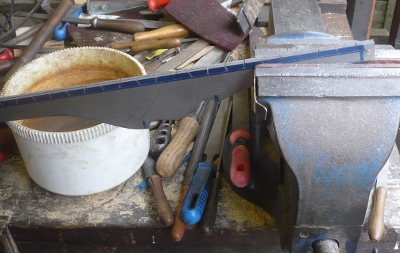
I have begun to hacksaw the waste and chisel it out.
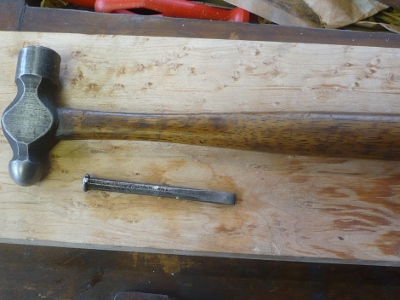
The hammer and chisel I use to remove the waste.
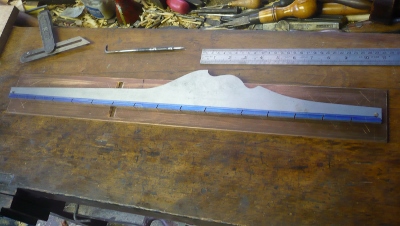
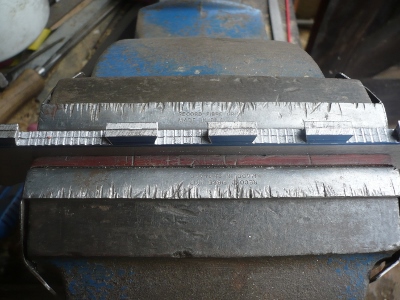
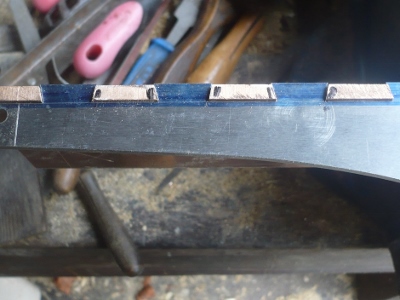
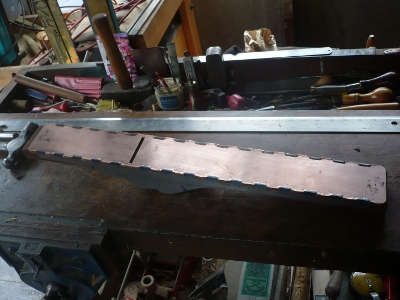
I have cut out all the dovetails.

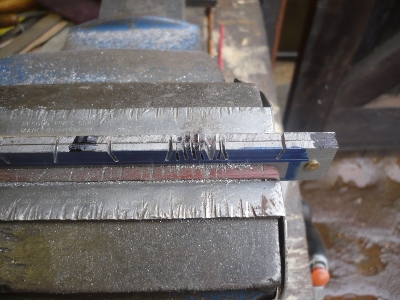
I now have to file them flat.
I have offered the side up to the bronze base, marked the sockets and started to remove the waste.
Here I have one side fitted to the base.

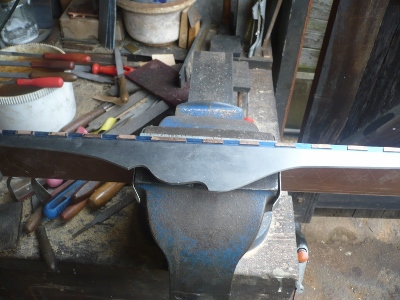


Both sides now fitted to the base.
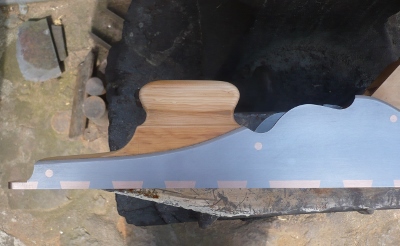
I have just started to file the chamfers on both sides.
The chamfers are finished and I have shaped the ends of the sides, front and back.

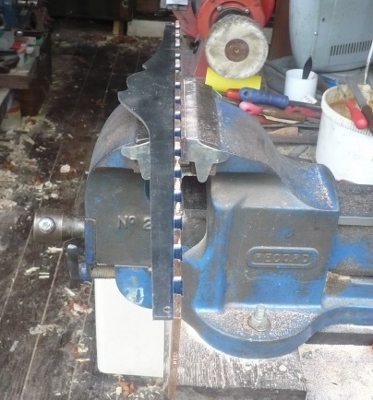
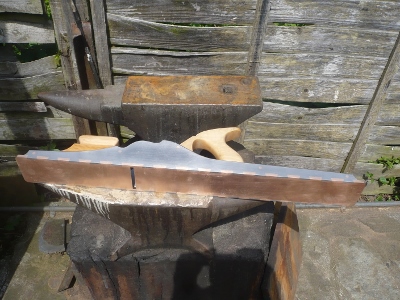
Now it is time to peen the sides to the sole.

The sides are now fixed permanently to the sole.
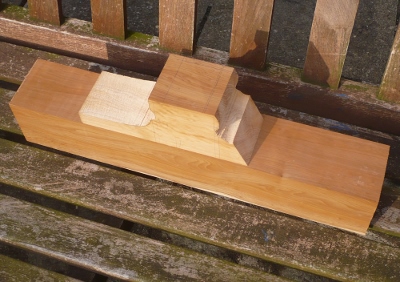
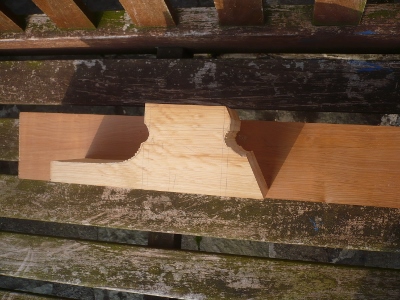
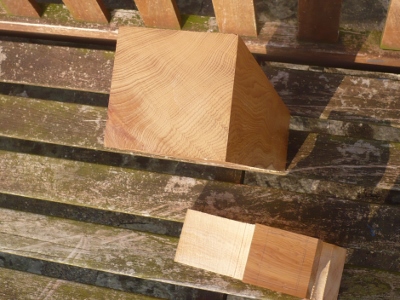
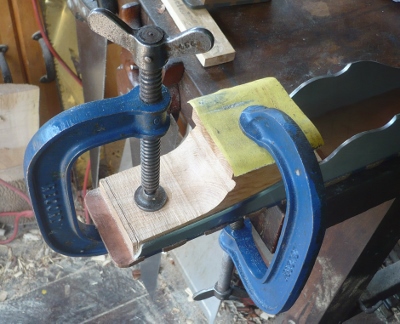
I have found a nice piece of yew which I might use for the infill. I have started to cut the front piece to shape and if I do use it, I might have have to glue it into the front, as the edges of the yew tend to break away so I will have to shape it in situe. With a bit of luck this will protect the edges.
I have glued the front piece in and cramped it, now I have to wait overnight before I can do anymore.
Note the colour before I cut into it, it should darken very quickly when I have finished, provided I don't put any linseed oil on it. I learnt a valuable lesson when I made the other on with yew infill, I linseeded it when finished, this prevented the wood from going brown for quite a few weeks, now I know.
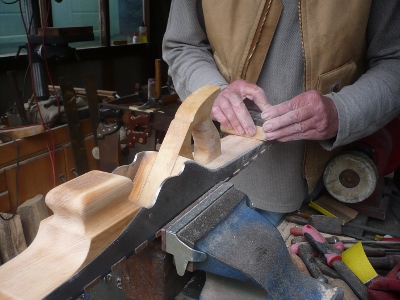
Next day when the glue had gone off I started to shape the rest of the front infill, being very careful as I don't want to take it out now it is permanently fixed. I have also put 2 bronze rivets through the infill.

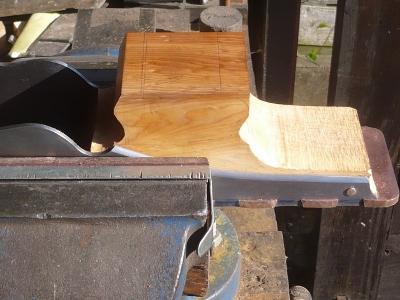
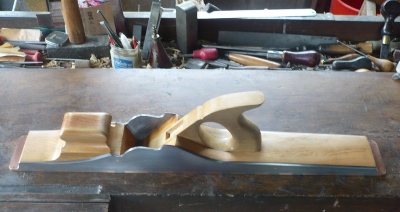
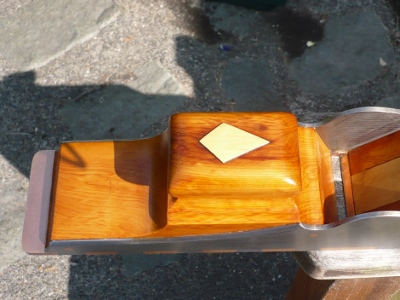
I have shaped the front infill, notice the contrasting colours where I have cut into the wood, the top of the bun I haven't disturbed and it is quite dark, in fact yew colour.

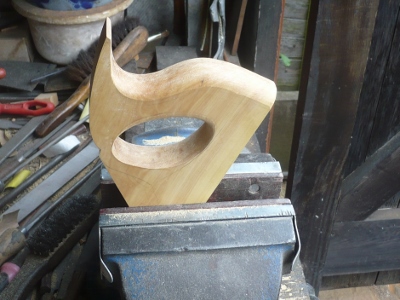
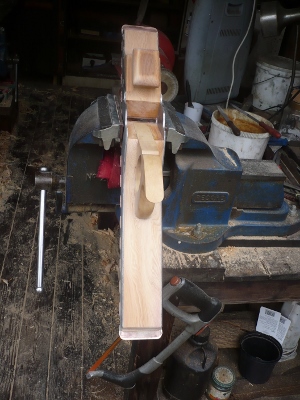
Here I am shaping the handle.

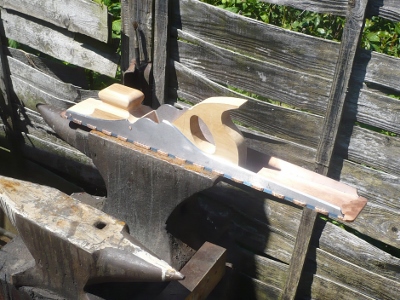
I have placed the handle in the plane just for a visual effect. Has anyone spotted the difference in the timbers.

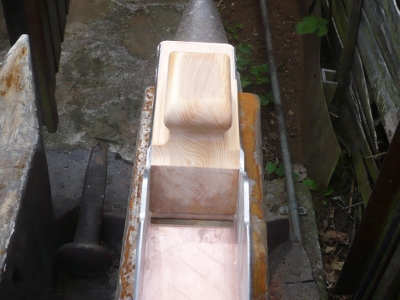
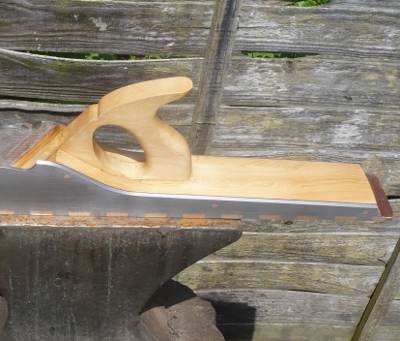
The handle is now fixed into the rear of the plane and I have glued the whole thing into the rear section.

The glue has now gone off and I am just finishing the rear infill in place. The rear infill is now rivited.
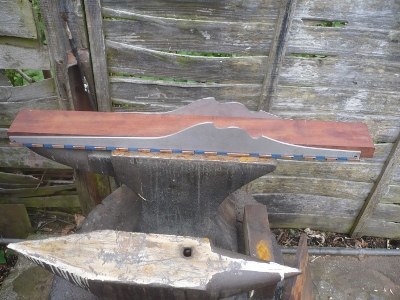
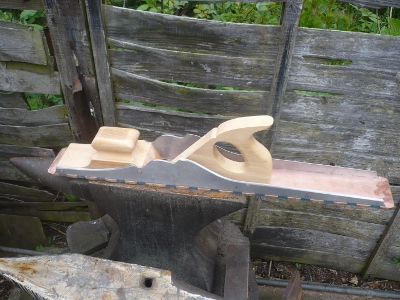
The infill is now complete, but I still have to file the waste off the dovetails.

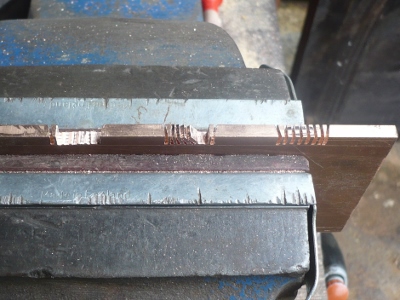
I have now filed the waste off the dovetails and pins etc, a long hard job by hand, I wore out numerous files, at least 6 and this is a close up of the dovetails.
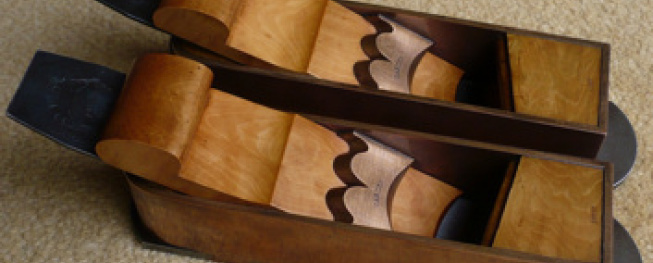
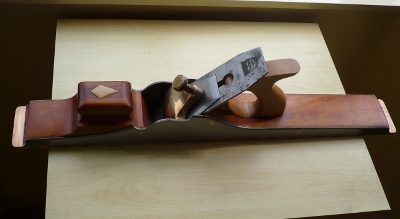
I am still short of a lever cap and screw, plus a parallel iron and back iron to finish the job, the infill is yew and handle is boxwood.

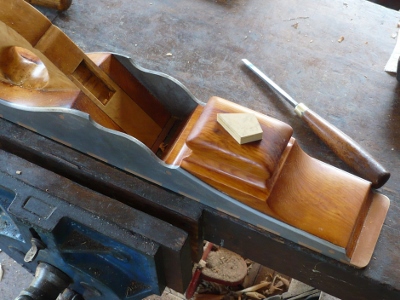
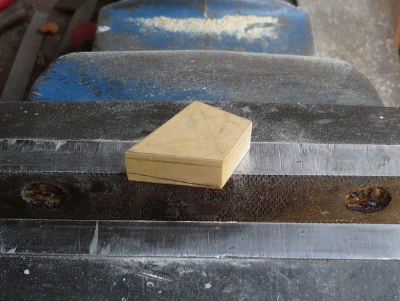
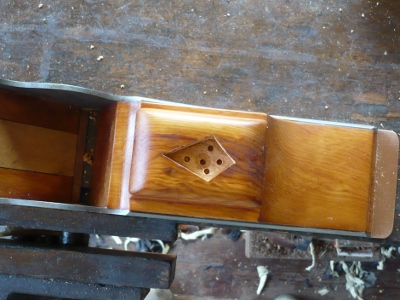
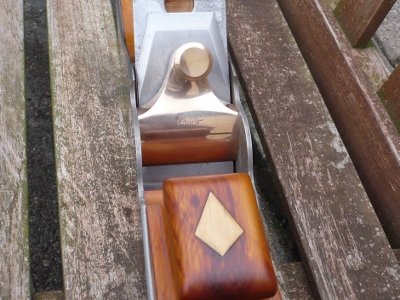
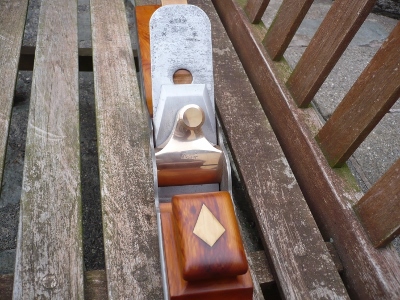
I have decided to let a piece of boxwood into the top front infill, 2 reasons, the top of the front grip was very dark compared to the rest of the yew wood so the boxwood will break that up, also the boxwood insert will marry up with the boxwood handle at the rear. It is for decoration only, not a striking button. I still haven't got a lever cap and screw, can anyone help with this problem.
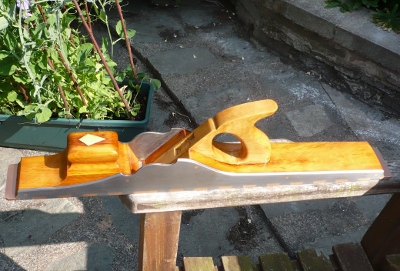
Karl Holtey has kindly supplied the lever cap and screw in bronze and when it arrived I commented to Sarah. "No need to measure this, I know it will be right". Guess what, it fit like a glove. Brian Jackson gave me an unused Sheffield made laminated iron by Marples, thank you Brian.
The iron in this picture is not the Marples iron, see next picture.
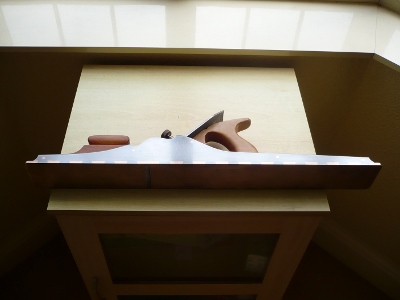
You can see this plane at the next David Stanley tool auction in September.
You can see this plane at the next David Stanley tool auction in September.

.
We are located at:
Contact us today!
If you have any queries or wish to make an appointment, please contact us:
+44 116 2762513 +44 116 2762513
bill.sarahcarter@hotmail.co.uk
Or use our contact form.