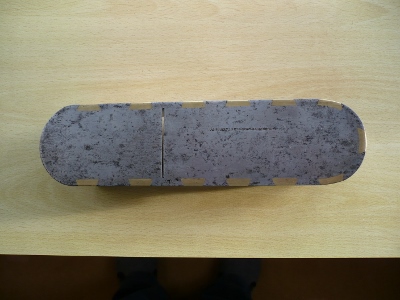
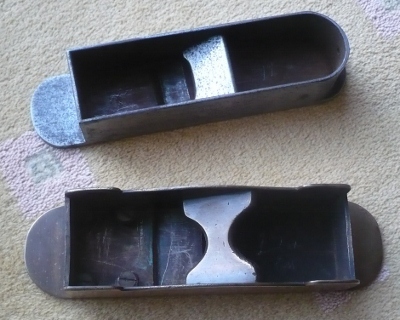
New Infills

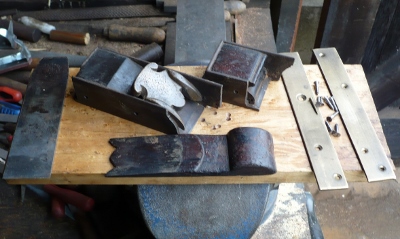
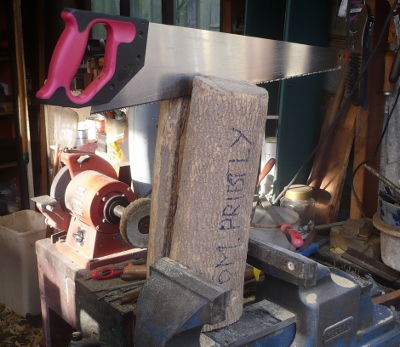
I bought this plane from a David Stanley auction, it was cast iron and it had been dropped and broken in half. It had 2 brass mending plates either side holding it together, crudely done. My intention was to use all the original infill and the beautiful bridge and make a dovetailed replica in bronze and brass. When I dismantled it I realized it was a very old plane as there were a few 
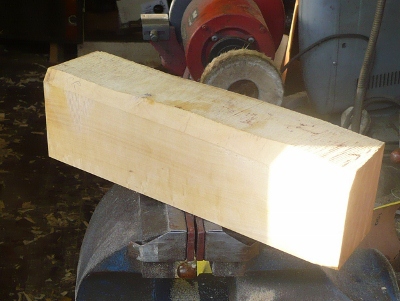
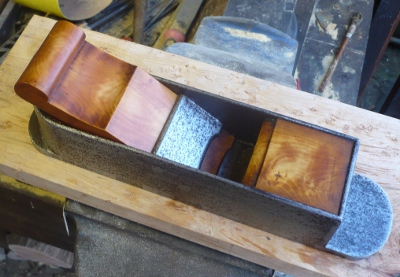
hand cut screws holding the sole the the infill etc together. The original plane had a square back but because I have dovetailed it I have made it round backed. The front rosewood infill was in poor shape lower down so I had to fully restore that piece before fitting it to the new plane. I also cut off and reshaped the top edge of the wedge because of more damage there. I lowered the bed angle by 5 degrees using the original rosewood topped rear infill , this helped me to get the bridge lower in the new plane because it stuck up well above the top sides of the plane when whoever made it. A 
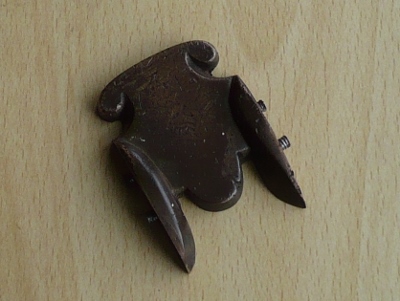
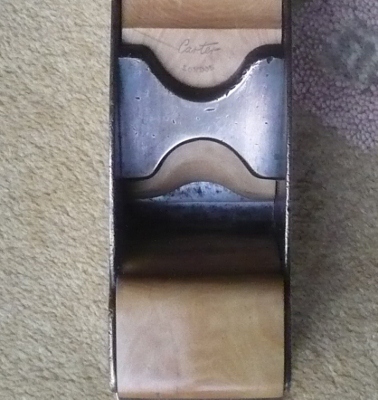
big surprise appeared when I cleaned up the bridge, it was lightly engraved with an English rose, 2 Scottish thistles and 3 Irish shamrocks, surrounded with numerous leaves, incidentally the bridge 
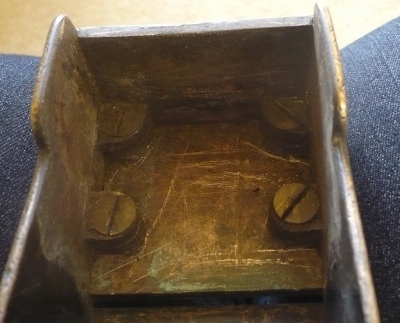
is bronze and it had 2 screws either side fixing it to the plane, which were all over the place so I drilled a new hole through the bridge and used a new pin in it, riveting it to the plane. I sharpened the original James Howarth iron and the plane works like magic, I am very happy with the result.

The plane measures 7 3/4" x 1 7/8".


The broken components and the uncleaned bridge.

Top

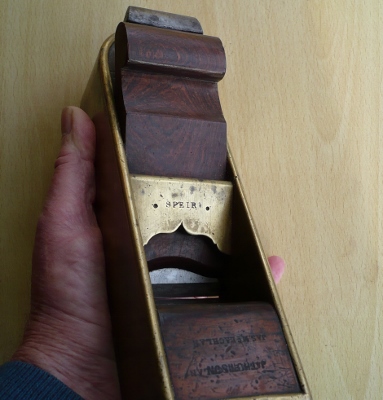
Two different makers?

Comparisons Between Speir and Spiers of Ayr.


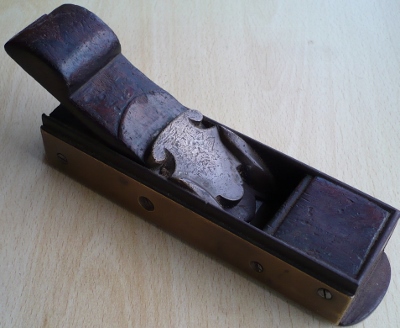
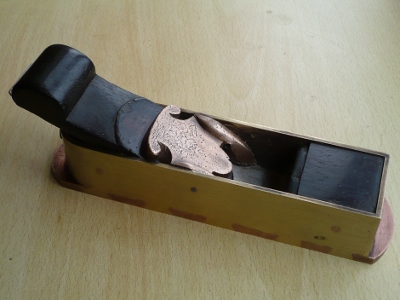
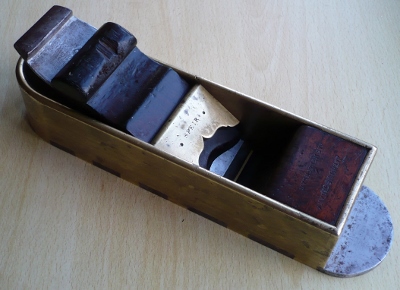
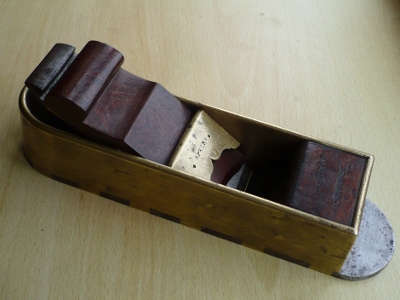
I have just purchased this plane for myself, as you all know I love mitre planes, it is a large heavy brass and steel dovetailed mitre plane by Speir, not Spiers. It has a rosewood infill, unfortunately I had to make a new wedge as the damaged wedge which came with the plane just took the edge off it's appearance. I have now made a new rosewood wedge and I have placed the plane in strong sunlight and already the new wedge has started to blend in with the front infill.

Very little is known about Speir as a plane maker, according to Nigel Lampert's book, no reference has been found to Speir as a plane maker, he thinks it was probably a different way of spelling Spiers and that they were probably made by Spiers. In my mind this Speir plane has absolutely nothing to do with Spiers, I think it is earlier and it is entirely different to the later made Spiers. The bridge has a beautiful cupid bow which is identical to the Rutherford maker in Nigel's book. Again very little is known about Rutherford as a maker.

These are the differences I have found between Speir ans Spiers of Ayr.

Speir plane. The brass sides of the plane and the bridge are much thicker. 2) The bridge is fixed either side with 3 brass pins, they could be tenons. 3) The cupid bow bridge is identical to a G. Rutherford plane and so are the overall dimensions of the plane itself. 4) The rosewood infill is held in by a screw in the heel and the toe, no screws in the sides. 5) The grain on the front infill runs from side to side, Norris did this on his mitre planes. 6) The joint at the mouth appears to be like a birds mouth, not a tongue and groove. 7) The spelling Speir completely different, Spiers of Ayr always appears on his planes, it always has an S on the end (this is a really big difference between the two makers). 8) Brass and steel construction on his first type of dovetailed mitre plane. Spiers of Ayr did not use these materials on his first type of mitre plane. 9) The infill is solid rosewood, not made up of two pieces. 10) The front infill is a different shape.

Below finished with new wedge.
Look carefully and you will just see the joint at the mouth.

Top

Sarah and I had a 2 lovely days at David Stanley's tool sale, meeting up with all our friends and talking tools, ( cake was very sought after and went down well) I only managed to buy a sack barrow out of the sale as everything else I wanted went for too much. However I did manage to buy from 2 dealers a steel mitre plane and a bronze mitre plane, both for restoration when it is warmer, I think I am going to do them both in boxwood. Also from a collector at the sale I bought a very nice Badger panel plane that just wants a wipe over with a rag. I have never owned a Badger panel plane before, it is a very rare item.
Although it was cold I made a start by removing the infills. Prior to this I wondered how the front sole was connected on the bronze plane. Surprise surprise, on the walls at the front of the plane there are 4 lugs cast into the sides, also on the sole directly in line are 4 more cast pieces with large bronze screws connecting the 2 pieces together, see below, never come across this before.

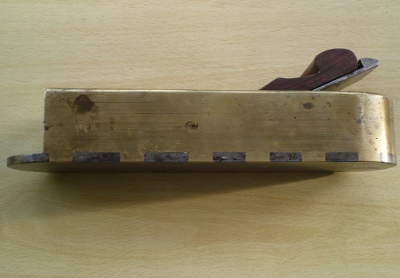
The dovetailed steel plane is just as normal, no surprises here.
Last year Tom Priestly gave me 2 large pieces of boxwood, a beautiful colour, so I thought these 2 planes would look nice in this timber.
Wednesday tea time the first plane was finished, I have coloured the boxwood with nitric acid and it always looks artificial before the acid really dries out, it takes a couple of weeks or so. When the wood appears to be fully dry at a later date, I will erase most of the artificial colour and only then will it start to look how I intend. The bed angle on this plane is 22 degrees, about normal.

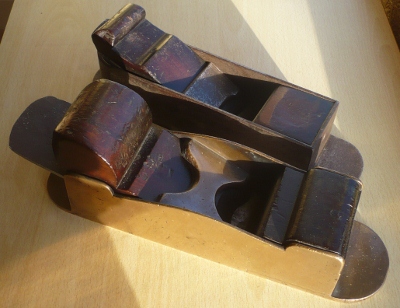
When I bought this plane the bridge was so rusty there didn't appear to be a name, but now I have got most of the rust away I think it was named, which would be the norm and I believe I can just see a trace, I think there is an R so it could be Green or it could be Gabriel. It have a very rare iron by Mottram.
Now for the next plane, hard work sawing the boxwood by hand but it keeps me warm on a cold day.
Whenever possible I like to saw the timber out of the best piece of boxwood, getting the grain as even as I can for the infill.
Thursday, I have roughly fitted the front infill and although the plane did not have a rear infill under the iron, I have fitted one for the first time in the planes life. Both pieces of wood I thought would be pretty easy to fit, but unfortunatly, although the bronze casting is good everything was out of square and tapering from top to bottom, so it proved a lot harder to get a good fit.
Friday, today I have finished the front infill and made the wedge, I have made the wedge and infill higher than the sides of the plane, I did this because the top edge running all round the casting is rounded, so had I made the infill level with the top there would have been a slight gap between the wood and the casting. So the only other alternative for me would have been to lower the infill slightly so it would fit the casting better. In this instance I have kept the top of the front infill and wedge horizontal. It is a perfect piece of boxwood and when the Araldite has set tomorrow the whole plane will be submerged in raw linseed. The bed angle is 15 degrees, very low for an English mitre plane. The round topped iron is by Peace.
I have now lightened the wood on the steel plane and domed the wedge and front infill on the bronze plane. The steel plane weighs 4lb - 3 1/2oz and the bronze plane weighs considerably heavier, 5lb - 10 1/2oz, they both work brilliantly.

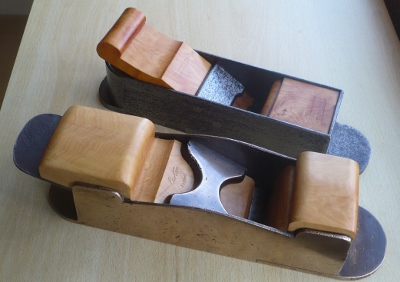
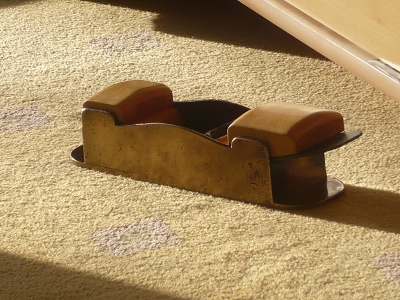
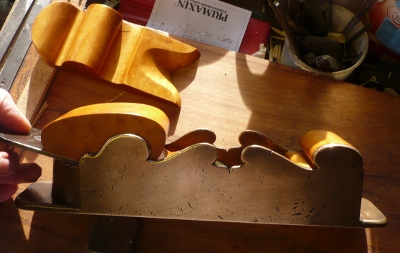
Both finished planes side by side for comparison
At David Stanley's last auction I bought a very long chisel with a boxwood handle by Gilpin, 19" overall with a 7" handle
I have slightly altered the shape at the bottom of the wedge.
I have decided to flute the boxwood.

Top

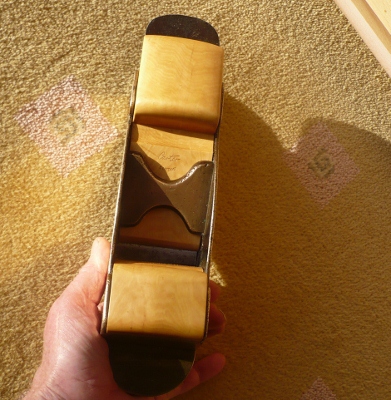
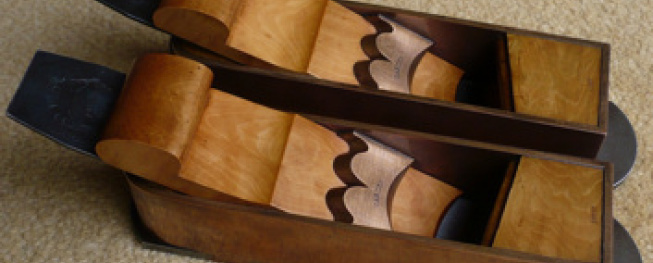
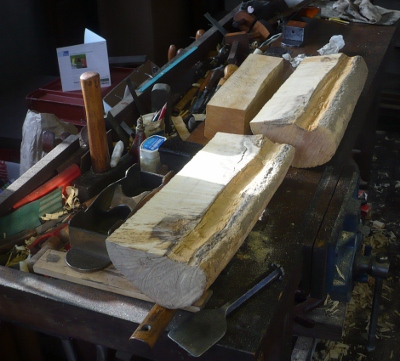
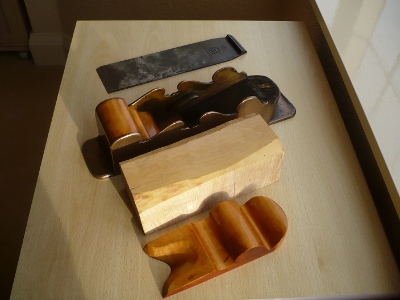
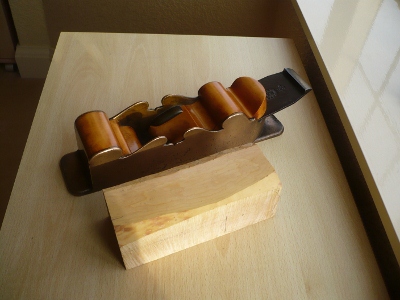
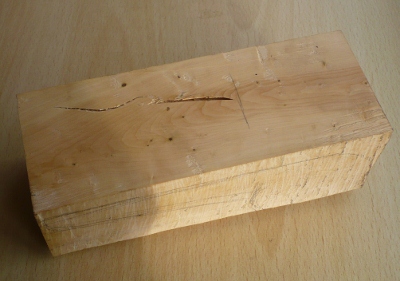
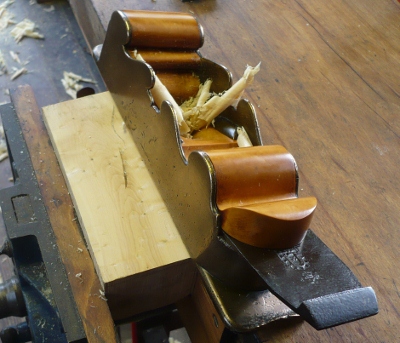
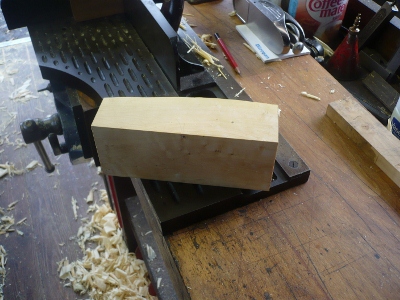
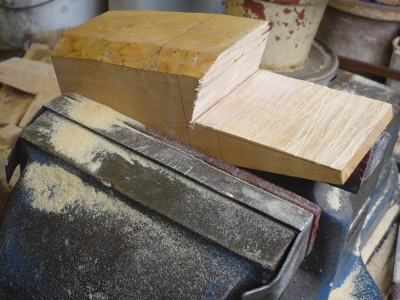
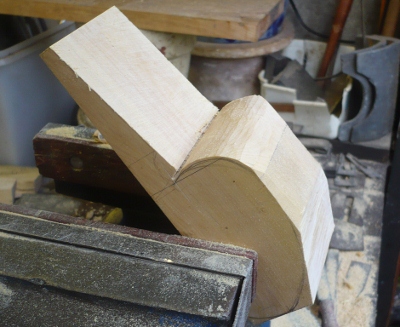
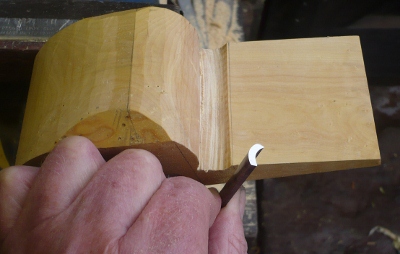
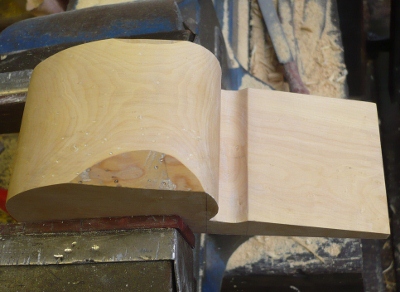
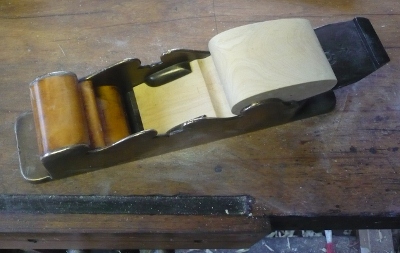
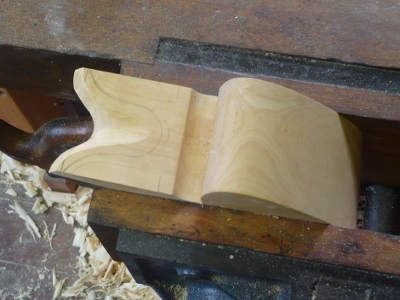
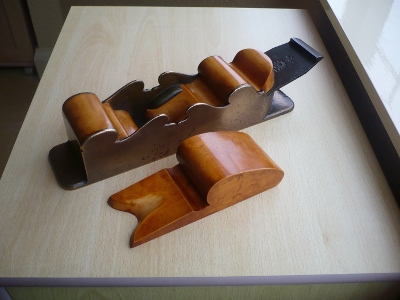
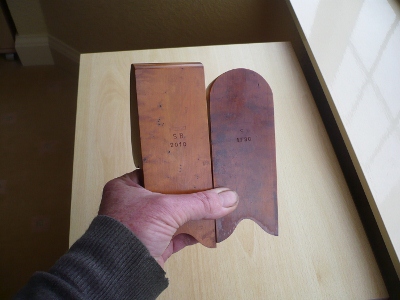
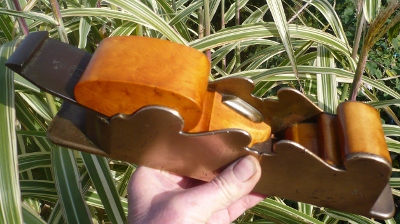
Making A New Wedge For The Wavy Plane.

I decided to make a new boxwood wedge to see what it would look like but retaining the original, which I made 20 yrs ago. This is one of my favourite planes. The first wedge was damaged when I bought it having been sawn off at the rear.

I know the new wedge will be difficult to match as when coloured no 2 pieces come out the same if from a different tree and the passage of time.
Here I am using the actual plane for the second wedge.
Using my blunt ground off gouge for the hollow section under the head.
The next picture shows where the bark had been, at this stage I had in mind a really massive scroll which I was going to round on the top. When I tried it in the plane at a later date it was far to big and bulky, so decided reduce it in hight, the first cut being where the bark line ended, I shaped it tried it in the plane, still too bulky, so reduced it yet again to it's finished hight. I now decided instead of rounding the top in it's width, I would keep it flat, as I normally do with wedges.
The width of the wedge is now correct, it looks very bland at this stage.
Here I am shaping the bottom of the wedge.
It has now been in linseed, dried, then it had the nitric acid treatment it now looks a good match.
I have dated the new wedge 20 years after the first, I think the new wedge completely alters the planes appearance, but this is only a whim and from now on the plane has 2 wedges.

Top

We are located at:

Contact us today!

If you have any queries or wish to make an appointment, please contact us:


+44 116 2762513 +44 116 2762513

bill.sarahcarter@hotmail.co.uk


Or use our contact form.

Get social with us.

Print | Sitemap
bill.sarahcarter@hotmail.co.uk